In Arduino programming, mastering the art of conditional statements is essential to create powerful and dynamic programs.
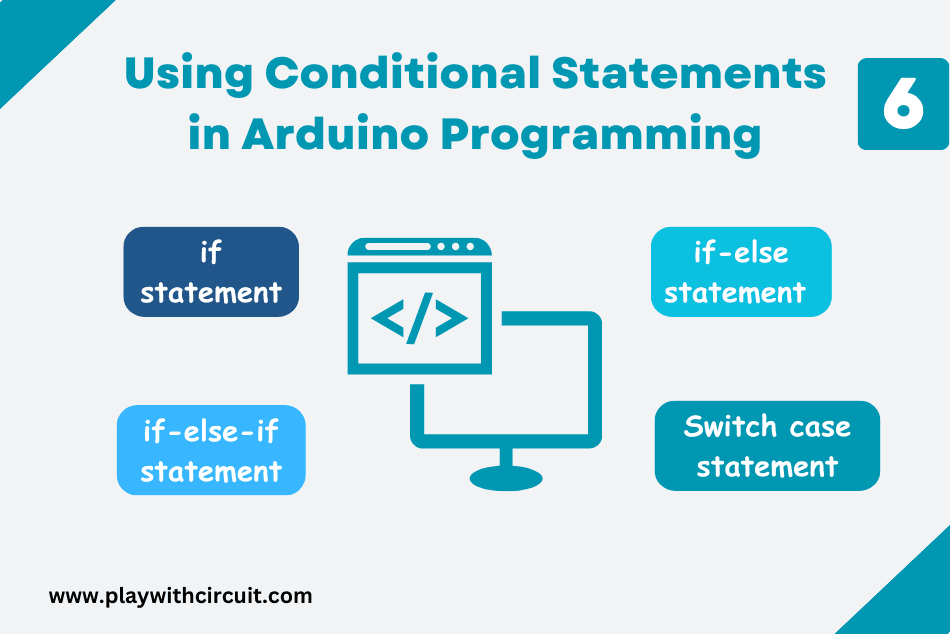
In this tutorial, you will learn the fundamentals of conditional statements in Arduino programming including if, if-else, if-else-if and switch case statements.
Understanding Conditional Statements
Conditional statements are the building blocks of decision-making in programming. They determine the working flow of the Arduino program based on specified conditions.
Conditional statements check whether a condition is true or false. If the condition is true, the code in the body of the conditional statement is executed. However, if the expression turns out as false, the code in the body is not executed.
if statement
In Arduino programming, the if statement is a fundamental control structure used for decision-making. It allows you to execute a block of code only if a specified condition is true.
The structure of an if statement is very simple:
if (condition) {
    // Code to execute if the condition is true
}
In this structure, the code inside the curly braces is executed only if the condition evaluates to true.
The condition is usually a logical expression that evaluates to either true or false. When the condition is true, the code inside the if block is executed; otherwise, it is skipped.
Take a look at the following example to understand if statement:
In the below code, we have made two variables of marks for student 1 and student 2 “student1_Marks” and “student2_Marks”. In setup() function we are checking if the student has passed or failed the exam, based on the marks. If marks are greater and equal to or less than 30.
// Define variables for student marks
int student1_Marks = 29;
int student2_Marks = 60;

void setup() {
  // Initialize serial communication
  Serial.begin(9600);
  if (student1_Marks >= 30) {
    Serial.println("The student1 marks is greater than or equal to 30. He passed the exam.");
  }
  if (student1_Marks < 30) {
    Serial.println("The student1 marks is less than 30. He failed the exam.");
  }
  if (student2_Marks >= 30) {
    Serial.println("The student2 marks is greater than or equal to 30. He passed the exam.");
  }
  if (student2_Marks < 30) {
    Serial.println("The student2 marks is less than 30. He failed the exam.");
  }
}

void loop() {

}
Result on the Serial Monitor:
The student1 marks is less than 30. He failed the exam.
The student2 marks is greater than or equal to 30. He passed the exam.
Relational Operators
The relational operators are essential for creating conditional statements and controlling the flow of your Arduino program. They are used to compare two or more numbers or variables. For example, less than, greater than, equal to, not equal to are some commonly used relational operators. Here is the list of all the relational operators:
- a < b ( a less than b )
- a > b ( a greater than b )
- a = = b ( a equal to b )
- a < = b ( a less than or equal to b )
- a > = b ( a greater than or equal to b )
- a ! = b ( a not equal to b )
where, a and b are the variables.
if-else statement
The if-else statement is an important construct in Arduino programming that extends the capabilities of the if statement. It allows your Arduino code to handle both true and false conditions, ensuring that one of two distinct code blocks is executed based on the evaluation of a condition.
When the condition specified in the if clause is true, the code within the if block is executed, and the code inside the else block is skipped. Conversely, if the condition is false, the if block is bypassed, and the code within the else block is executed.
The structure of an if-else statement looks like this:
if (condition) {
   body; // code to execute if the condition is true
}
else{
   body; // code to execute only if condition 1 is false and condition 2 is true
}
Below is an example showing how to use the if-else statement:
We will rewrite Arduino code for above problem using if-else statement and output will be same as above.
// Define variables for student marks
int student1_Marks = 29;
int student2_Marks = 60;

void setup() {
  // Initialize serial communication
  Serial.begin(9600);
  if (student1_Marks >= 30) {
    Serial.println("The student1 marks is greater than or equal to 30. He passed the exam.");
  } else {
    Serial.println("The student1 marks is less than 30. He failed the exam.");
  }
  if (student2_Marks >= 30) {
    Serial.println("The student2 marks is greater than or equal to 30. He passed the exam.");
  } else {
    Serial.println("The student2 marks is less than 30. He failed the exam.");
  }
}

void loop() {

}
Result on the Serial Monitor:
The student1 marks is less than 30. He failed the exam.
The student2 marks is greater than or equal to 30. He passed the exam.
if-else-if statement
The if-else-if statement is a powerful control structure in Arduino programming that allows you to handle multiple conditional expressions within your code. It’s an extension of the basic if-else statement and is particularly useful when you have several conditions to evaluate, and you want to execute code blocks based on the first true condition found.
The structure consists of an initial if statement, followed by one or more else-if clauses and an optional else clause at the end.
Below is the basic structure:
if (condition 1)  {
Code to be executed when condition 1 is true
}
else if (condition 2)  {
Code to be executed when condition 1 is false and condition 2 is true
}
else {
Code to be executed when condition 1 and 2 are both false
}
When the Arduino program encounters an if-else-if statement, it evaluates the conditions sequentially until it finds the first true condition. The code block associated with that condition is executed, and the program exits the entire if-else-if structure. If none of the conditions is true, the code within the else block (if provided) is executed.
Here’s an example of an Arduino program that calculates and provides the grade of a student based on their total marks in all subjects using if-else-if statements.
int totalMarks = 450;  // Change this value to the total marks obtained by the student

void setup() {
  Serial.begin(9600);
  int percentage = (totalMarks * 100) / 500;  // Assuming maximum marks are 500

  if (percentage >= 90) {
    Serial.println("Grade: A");
  } else if (percentage >= 80) {
    Serial.println("Grade: B");
  } else if (percentage >= 70) {
    Serial.println("Grade: C");
  } else if (percentage >= 60) {
    Serial.println("Grade: D");
  } else if (percentage >= 50) {
    Serial.println("Grade: E");
  } else {
    Serial.println("Grade: F");
  }
}

void loop() {

}
Result on the Serial Monitor:
Grade: A
Switch Case Statements
In Arduino, you can use the switch statement to create a multi-way branch in your code, allowing you to execute different blocks of code depending on the value of a variable.
The break keyword is used at the end of each case. If the break is not used with the switch statement, it will continue to execute all the cases until the end. Hence, it is essential to include a break statement at the end of each case.
switch case statements make your code more readable and easier to understand, especially when you have multiple conditions to check.
Each case represents a specific condition or value, making it clear what each block of code does. Here’s the basic syntax for using switch in Arduino:
switch (variable) {
  case value1:
    // Code to execute if variable equals value1
    break;

  case value2:
    // Code to execute if variable equals value2
    break;

  // Add more cases as needed

  default:
    // Code to execute if variable doesn't match any of the cases
    break;
}
Let us consider the same example we have considered above and try to write the code using switch case statement:
int totalMarks = 450;  // Change this value to the total marks obtained by the student

void setup() {
  Serial.begin(9600);
  int percentage = (totalMarks * 100) / 500;  // Assuming maximum marks are 500
  char grade;

  switch (percentage / 10) {
    case 10:
    case 9:
      grade = 'A';
      break;
    case 8:
      grade = 'B';
      break;
    case 7:
      grade = 'C';
      break;
    case 6:
      grade = 'D';
      break;
    case 5:
      grade = 'E';
      break;
    default:
      grade = 'F';
      break;
  }

  Serial.print("Grade: ");
  if (grade == 'F') {
    Serial.println("F");
  } else {
    Serial.println(grade);
  }
}

void loop() {

}
Nested if Statement
The nested if statement is a powerful tool in Arduino programming that allows you to create more complex decision-making logic. It involves placing one if statement inside another, forming a hierarchy of conditions and sub-conditions. The inner if statement is evaluated only if the outer if statement’s condition is true.
This nested structure allows you to handle situations where you need to make decisions based on multiple criteria or levels of conditions. It’s particularly useful when you want to create cascading conditions, such as checking multiple conditions sequentially.
Here’s an Arduino code example that reads the temperature from a temperature sensor connected to one of the analog pins and checks if a button is pressed on any input pin. It turns ON the onboard LED if the temperature is greater than 100 degrees Celsius and turns it OFF if the temperature is less than 100 degrees Celsius.
const int analogPin = A0;        // Analog pin for the temperature sensor
const int buttonPin = 2;         // Pin for the button
const int ledPin = LED_BUILTIN;  // Onboard LED pin

void setup() {
  pinMode(buttonPin, INPUT_PULLUP);  // Enable internal pull-up resistor for the button
  pinMode(ledPin, OUTPUT);           // LED pin as output
  Serial.begin(9600);                // Initialize serial communication
}

void loop() {
  // Read the analog value from the temperature sensor
  int sensorValue = analogRead(analogPin);

  // Convert the analog value to temperature in degrees Celsius
  float temperature = (sensorValue / 1024.0) * 500.0;

  // Check if the button is pressed
  if (digitalRead(buttonPin) == LOW) {
    // Button is pressed, check the temperature
    if (temperature > 100) {
      // Temperature is greater than 100 degrees Celsius, turn on the LED
      digitalWrite(ledPin, HIGH);
      Serial.println("Temperature is greater than 100°C. LED ON");
    } else {
      // Temperature is less than or equal to 100 degrees Celsius, turn off the LED
      digitalWrite(ledPin, LOW);
      Serial.println("Temperature is less than or equal to 100°C. LED OFF");
    }
  }
  delay(1000);
}
Serial Output depends on temperature:
Temperature is less than or equal to 100°C. LED OFF
Temperature is less than or equal to 100°C. LED OFF
Temperature is less than or equal to 100°C. LED OFF
Temperature is less than or equal to 100°C. LED OFF
Temperature is greater than 100°C. LED ON
Temperature is greater than 100°C. LED ON
Temperature is greater than 100°C. LED ON
Temperature is greater than 100°C. LED ON
Temperature is greater than 100°C. LED ON
Temperature is greater than 100°C. LED ON
Explanation of Code
In this code:
- We define the analog pin for the temperature sensor (analogPin), the pin for the button (buttonPin), and the onboard LED pin (ledPin).
- In the setup function, we set up the button pin as an input with an internal pull-up resistor and the LED pin as an output. We also initialize serial communication for debugging.
- In the loop function, we read the analog value from the temperature sensor and convert it to temperature in degrees Celsius. We then check the state of the button. If the button is pressed (LOW), we compare the temperature value to 100 degrees Celsius. If it’s greater than 100, we turn on the LED and print a message. If it’s less than or equal to 100, we turn off the LED and print another message.
Make sure you have a temperature sensor connected to the specified analog pin and a button connected to the specified button pin for this code to work properly.
Conditional statements are an important part of Arduino programming and are used in many different situations. They provide your Arduino projects with the ability to make decisions and take actions based on specific conditions. Whether you’re building a simple LED control system that responds to sensor inputs or a complex robotics project that requires precise decision-making, conditional statements are the key to customizing the behavior of your Arduino. By mastering conditional statements, you can create more interactive, responsive, and intelligent devices.


